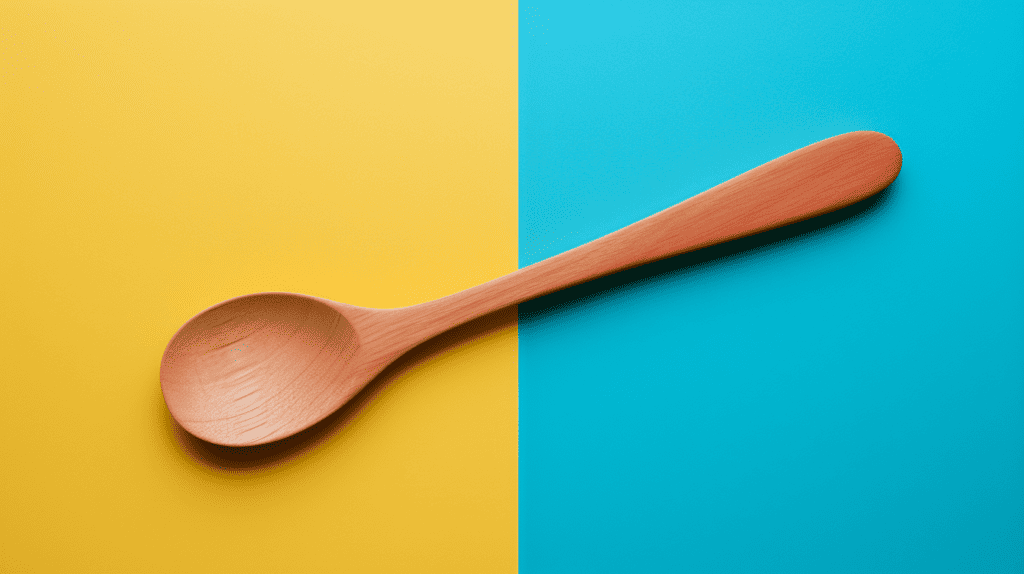
Are you interested in learning how to carve a wooden spoon? Whether you’re a beginner or an experienced woodworker, carving a spoon can be a satisfying and rewarding project. Not only can you create a functional utensil for your kitchen, but you can also develop your woodworking skills and creativity.
To get started, you’ll need some basic tools and materials. Softwoods like butternut or basswood are ideal for beginners, as they are easy to carve and hold fine details. You’ll also need a carving knife, a hook knife, a saw, and sandpaper. Once you have your materials, you can start by designing your spoon and carving the inside of the bowl. Then, you can move on to carving the outer side of the spoon, including the handle. With some practice and patience, you can create a beautiful and functional wooden spoon that you can be proud of.
Understanding the Basics of Spoon Carving
If you’re new to spoon carving, it can seem daunting at first. But with the right tools and techniques, carving a spoon can be a fun and rewarding experience. Here are some basics to get you started:
Choosing the Right Wood
When selecting wood for your spoon carving project, it’s important to choose a hardwood that is suitable for kitchen use. Woods like hickory, maple, ash, oak, walnut, and cherry make very good cooking spoons. Avoid softwoods like pine, which can be too porous and prone to cracking.
Tools You’ll Need
To carve a spoon, you’ll need a few basic tools:
- A carving knife: This is the most important tool for carving a spoon. Look for a knife with a sharp, sturdy blade that is comfortable to hold.
- A hook knife: This is used to carve the bowl of the spoon. Look for a hook knife with a sharp, curved blade.
- A saw: This is used to rough out the basic shape of the spoon. A coping saw or a hand saw will work.
- Sandpaper: This is used to smooth out any rough spots on the spoon.
Carving Techniques
When carving a spoon, start by roughing out the basic shape with a saw. Then, use a carving knife to shape the handle and the bowl of the spoon. Finally, use a hook knife to carve out the bowl of the spoon.
It’s important to carve with the grain of the wood to avoid splitting or tearing. Take your time and make small, controlled cuts. Use your non-dominant hand to hold the spoon steady while you carve.
Finishing Your Spoon
Once you’ve carved your spoon, use sandpaper to smooth out any rough spots. You can also apply a food-safe finish to protect the wood and bring out its natural beauty. Beeswax, mineral oil, and walnut oil are all good options.
With these basics in mind, you’re ready to start carving your own spoons. Remember to take your time and enjoy the process. Happy carving!
Choosing the Right Wood
When it comes to carving a spoon, choosing the right wood is crucial. Not all woods are created equal, and some are better suited for spoon carving than others. In this section, we’ll explore the different types of wood, wood hardness, and durability, so you can make an informed decision when selecting the best wood for your spoon carving project.
Types of Wood
There are many types of wood that can be used for spoon carving, but some are more popular than others. Here are a few of the most common woods used for spoon carving:
- Birch: A softwood that is easy to carve and has a light color.
- Cherry: A hardwood that is more difficult to carve but has a beautiful, rich color.
- Maple: A hardwood that is harder than cherry but still carves well and has a light color.
- Walnut: A hardwood that is harder than maple and has a dark, rich color.
Wood Hardness and Durability
When selecting wood for your spoon carving project, it’s important to consider the hardness and durability of the wood. Hardwoods are generally more durable than softwoods, but they can be more difficult to carve. Softwoods are easier to carve but may not last as long.
Here’s a table that compares the hardness and durability of some common woods used for spoon carving:
| Wood | Hardness (Janka) | Durability |
|---|---|---|
| Birch | 1,260 | Fair |
| Cherry | 950-1,150 | Good |
| Maple | 1,450 | Very Good |
| Walnut | 1,010 | Very Good |
Keep in mind that these are general guidelines and the actual hardness and durability of a specific piece of wood can vary depending on factors such as age, moisture content, and growth conditions.
In summary, choosing the right wood is an important step in carving a spoon. Consider the type of wood, its hardness, and durability when making your selection. With the right wood and tools, you’ll be on your way to carving a beautiful and functional spoon.
Tools for Spoon Carving
When it comes to carving a spoon, having the right tools is crucial to achieving the desired outcome. In this section, we will discuss the different types of knives and safety equipment that you will need to get started.
Types of Knives
There are a variety of knives that can be used for carving a spoon, but the two most commonly used are the carving knife and the hook knife.
Carving Knife: This knife is used for roughing out the shape of the spoon and removing larger chunks of wood. It has a long, straight blade that is ideal for making straight cuts.
Hook Knife: This knife is used for carving the bowl of the spoon and creating the curved shape of the handle. It has a curved blade that allows you to scoop out the wood more easily.
Other knives that can be used for spoon carving include the sloyd knife, which is a general-purpose carving knife, and the chip carving knife, which is used for creating intricate designs on the spoon.
Safety Equipment
Carving a spoon can be a fun and rewarding experience, but it is important to take safety precautions to prevent injury. Here are some safety equipment that you should consider using:
Gloves: Wearing gloves can protect your hands from cuts and splinters.
Thumb Guard: A thumb guard can be used to protect your thumb when you are using a hook knife.
Apron: An apron can protect your clothing from wood chips and dust.
Eye Protection: Wearing safety glasses or goggles can protect your eyes from flying wood chips.
Conclusion
By using the right tools and safety equipment, you can make the process of carving a spoon both enjoyable and safe. Remember to take your time and work carefully to achieve the best results.
Preparing the Wood
Before you start carving your spoon, it is important to select the right type of wood. The easiest woods for a first-time carver to use are butternut or basswood. These woods are soft enough so you can carve a basic spoon in less than an hour and hard enough to hold fine details if you wanted to add them.
Once you have selected your wood, you need to prepare it for carving. Here are some steps to follow:
- Cut the wood into a block: Use a saw or a knife to cut the wood into a block that is slightly larger than the size of the spoon you want to carve.
- Draw the spoon shape: Use a pencil to draw the outline of the spoon on the wood block. This will help you visualize the shape and size of the spoon before you start carving.
- Secure the wood: Use a clamp to secure the wood block to a workbench or table. This will prevent the wood from moving while you are carving.
- Remove the bark: Use a knife or a chisel to remove the bark from the wood block. This will make it easier to carve the wood and prevent the bark from getting in the way.
- Smooth the surface: Use sandpaper to smooth the surface of the wood block. This will make it easier to carve and prevent any rough spots from damaging your carving tools.
By following these steps, you can prepare your wood block for carving a beautiful and functional wooden spoon.
Carving Techniques
When it comes to carving a spoon, there are a few key techniques to keep in mind. By mastering these techniques, you’ll be able to create a spoon that is both functional and beautiful.
Roughing Out
The first step in carving a spoon is to rough out the basic shape. This involves removing the bulk of the wood to create a rough shape that you can then refine and detail. Here are a few tips for roughing out your spoon:
- Use a saw or hatchet to remove large chunks of wood quickly.
- Use a carving knife to refine the shape and remove any remaining wood.
- Work slowly and carefully to avoid removing too much wood.
Detailing
Once you have the basic shape of your spoon roughed out, it’s time to start adding details. This is where you can get creative and really make your spoon stand out. Here are a few tips for detailing your spoon:
- Use a small carving knife to add texture and details to the handle and bowl of the spoon.
- Consider adding decorative elements such as a carved pattern or inlay.
- Take your time and work carefully to ensure that your details are precise and well executed.
Finishing
The final step in carving a spoon is to finish it. This involves sanding and polishing the wood to create a smooth, polished surface. Here are a few tips for finishing your spoon:
- Use sandpaper or a sanding block to smooth out any rough spots or tool marks.
- Apply a food-safe finish such as mineral oil or beeswax to protect the wood and bring out its natural beauty.
- Take your time and work carefully to ensure that your finish is even and well applied.
By following these tips for roughing out, detailing, and finishing your spoon, you’ll be able to create a beautiful and functional piece that you can be proud of.
Caring for Your Carved Spoon
Cleaning
Cleaning your carved spoon is an essential step in maintaining its longevity. After each use, rinse the spoon with warm water and mild soap. Avoid using harsh chemicals or abrasive materials as they can damage the wood. If there are any stubborn stains or residue, gently scrub the area with a soft-bristled brush.
After cleaning, dry the spoon thoroughly with a clean towel. Do not let it air dry as this can cause warping or cracking. If you plan to store the spoon for an extended period, make sure it is completely dry before putting it away.
Maintenance
To keep your carved spoon in good condition, you should oil it regularly. Use food-grade mineral oil or beeswax to moisturize the wood and prevent it from drying out. Apply a small amount of oil or wax to a clean cloth and rub it onto the spoon in a circular motion. Let it sit for a few minutes before wiping off any excess.
Inspect your spoon regularly for any signs of damage or wear. If you notice any cracks or splinters, sand them down with a fine-grit sandpaper. Be careful not to remove too much wood as this can alter the shape and functionality of the spoon.
Preservation
If you want to preserve your carved spoon for display purposes, there are a few steps you can take. First, make sure the spoon is completely dry and free of any oils or residue. Then, apply a coat of clear varnish or lacquer to protect the wood from moisture and dust.
When storing your carved spoon, keep it in a dry, cool place away from direct sunlight. Avoid exposing it to extreme temperatures or humidity as this can cause warping or cracking.
By following these simple steps, you can ensure that your carved spoon remains in excellent condition for years to come.
Frequently Asked Questions
How do you carve a spoon from a branch?
To carve a spoon from a branch, you will need to select a branch that is straight and free of knots. Once you have your branch, use a saw to cut off any smaller branches or twigs. Then, use a hatchet or axe to shape the branch into a rough spoon shape. Finally, use a carving knife to carve away the excess wood and refine the shape of your spoon.
What are the essential tools needed for carving a wooden spoon?
The essential tools needed for carving a wooden spoon are a saw, an axe or hatchet, a straight knife, and a curved or bent knife. These tools will allow you to rough shape your spoon, remove excess wood, and add fine details to your finished spoon.
What is the best type of wood to use for carving a spoon?
The best type of wood to use for carving a spoon is a hardwood that is fine-grained and easy to carve. Some popular choices include cherry, birch, maple, and walnut.
What are some tips for carving a spoon from dry wood?
When carving a spoon from dry wood, it is important to take your time and use a sharp knife. Dry wood can be more brittle and prone to cracking, so it is important to carve slowly and carefully. You may also want to soak your wood in water before carving to make it easier to work with.
Can you carve a spoon without any prior experience?
Yes, you can carve a spoon without any prior experience. However, it is important to start with simple designs and take your time. You may also want to watch tutorials or take a class to learn some basic carving techniques.


