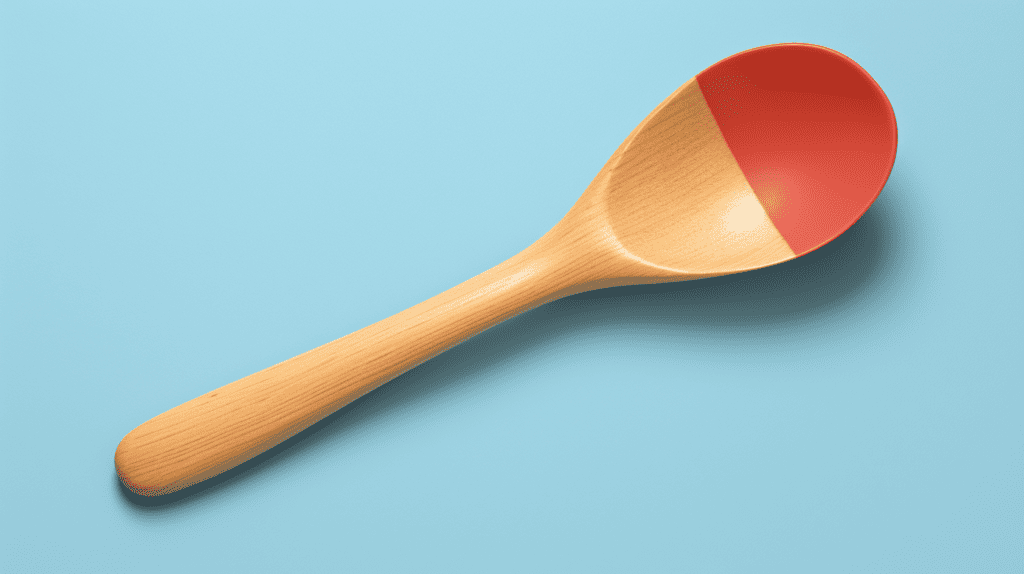
If you’re looking for a new DIY project, why not try making your own wooden spoon? Not only is it a fun and rewarding activity, but it’s also a practical one – you’ll end up with a beautiful and functional kitchen utensil that you can use for years to come. In this article, we’ll walk you through the steps of making a wooden spoon, from choosing the right wood to sanding and finishing the final product.
The first step in making a wooden spoon is selecting the right wood. You’ll want to choose a species of wood that is hard and durable, but also easy to work with. Some popular choices include cherry, maple, and walnut. Once you’ve chosen your wood, you’ll need to cut it down to the right size and shape for your spoon. This will depend on the size and style of spoon you want to make – a small teaspoon will require a smaller piece of wood than a large serving spoon, for example.
Understanding the Basics of Woodworking
Woodworking can be a satisfying and rewarding hobby. Whether you are a beginner or an experienced woodworker, making a wooden spoon is a great project to start with. Before you begin, it is important to understand the basics of woodworking. This section will cover two important aspects of woodworking: choosing the right wood and safety measures.
Choosing the Right Wood
Choosing the right wood is crucial when making a wooden spoon. The wood you select should be strong, durable, and easy to work with. Here are a few things to consider when selecting wood for your spoon:
- Hardwoods such as cherry, maple, and walnut are ideal for making wooden spoons.
- Avoid softwoods such as pine and cedar as they are prone to splintering.
- Look for wood that is free of knots and cracks.
- The wood should be dry and stable. Green wood can warp and crack as it dries.
- It is best to use wood that has been sustainably harvested.
Safety Measures in Woodworking
Woodworking can be dangerous if proper safety measures are not taken. Here are a few safety tips to keep in mind:
- Always wear eye protection when using power tools or hand tools.
- Use a dust mask or respirator when sanding or cutting wood.
- Keep your work area clean and free of clutter.
- Use sharp tools. Dull tools can slip and cause injury.
- Never wear loose clothing or jewelry when working with power tools.
- Keep your fingers away from the blade or bit of a power tool.
- Always follow the manufacturer’s instructions when using power tools.
By following these basic guidelines, you can ensure a safe and enjoyable woodworking experience.
Materials and Tools Required
To make a wooden spoon, you will need some essential woodworking tools and the right kind of wood. Here are the materials and tools required to make a wooden spoon:
Essential Woodworking Tools
The following tools are essential for carving a wooden spoon:
- Hatchet
- Drawknife
- Sloyd knife
- Hooked knife
- Sandpaper (120, 220, 320, 500 grit)
- Food-grade Mineral Oil (or finish of choice)
These tools are used to shape and smooth the wood into the desired shape of the spoon. While there are other tools that can be used, these are the most commonly used tools for carving wooden spoons.
Selecting the Spoon’s Wood
When selecting the wood for your spoon, it’s important to choose a species of wood that is suitable for the task. Some of the best woods for carving wooden spoons are:
- Maple
- Cherry
- Birch
- Walnut
- Apple
- Ash
These woods are hard, dense, and have a fine grain, making them ideal for carving. It’s important to avoid using softwoods like pine or cedar, as they are too soft and will not hold up well as a spoon.
In addition to the species of wood, you will also need to consider the size of the wood. The size of the initial block of wood will be dependent on how big of spoon you plan to construct. Choose a piece of wood that is large enough to carve the spoon, but not so large that it’s difficult to handle.
By having the right materials and tools, you’ll be able to carve a beautiful and functional wooden spoon that will last for years to come.
Carving the Wooden Spoon
Carving a wooden spoon is a fun and rewarding project that anyone can do. With the right tools and techniques, you can create a beautiful and functional utensil in no time. Here are the steps to carve a wooden spoon:
Designing the Spoon
The first step in carving a wooden spoon is to design the shape of the spoon. You can draw the shape on a piece of paper or directly onto the wood. Consider the size of the spoon and the type of wood you are using when designing the shape.
Cutting the Spoon Shape
After designing the spoon shape, it’s time to cut out the rough shape of the spoon. Use a saw or a carving knife to cut the shape out of the wood. Be careful not to cut too deeply into the wood and to follow the design closely.
Sculpting the Spoon Bowl
Once you have the rough shape of the spoon, it’s time to sculpt the bowl. Use a gouge or a curved knife to remove the wood from the inside of the spoon. Start from the center of the bowl and work your way outwards. Be careful not to remove too much wood and to keep the walls of the bowl even.
Refining the Handle
After sculpting the bowl, it’s time to refine the handle. Use a carving knife or a rasp to shape the handle to your liking. Be sure to smooth out any rough spots and to make the handle comfortable to hold.
And that’s it! With these simple steps, you can carve a beautiful and functional wooden spoon. Remember to take your time and to be patient with the process. Happy carving!
Finishing Touches
After carving a wooden spoon, the finishing touches are what will make it a functional and beautiful kitchen tool. This section will cover the sanding process and applying a finish to your wooden spoon.
Sanding the Spoon
Sanding the spoon is an important step in the finishing process, as it will smooth out any rough edges and help bring out the natural beauty of the wood. Here are the steps to follow:
- Start with a coarse grit sandpaper, such as 120 or 220, to remove any rough spots or tool marks.
- Gradually work your way up to a finer grit sandpaper, such as 320 or 500, to achieve a smooth surface.
- Use a micro mesh grit of 1500 – 3600 for finishing touches.
Remember to sand with the grain of the wood to avoid scratches and always wear a dust mask to protect your lungs.
Applying a Finish
Applying a finish to your wooden spoon will help protect it from moisture and prolong its lifespan. Here’s how to do it:
- Choose a food-grade mineral oil or any other finish of your choice.
- Apply the finish to the spoon using a clean cloth or brush.
- Wipe off any excess finish and allow the spoon to soak for some time.
- A finish will pronounce the grains and helps the spoon last for longer.
Remember to allow the finish to dry completely before using your spoon. You can repeat the process of applying the finish until you achieve the desired level of protection.
In conclusion, sanding and applying a finish are important steps in making a functional and beautiful wooden spoon. Follow these steps carefully and you will have a kitchen tool that will last for years to come.
Maintaining Your Wooden Spoon
Cleaning the Spoon
To keep your wooden spoon in good condition, it’s important to clean it properly after each use. Wash the spoon by hand using hot water and liquid dish soap. Rinse it thoroughly and towel dry it immediately to prevent water from seeping into the wood. If you notice any stubborn stains, use a nylon scrubber or a damp rag with baking soda or table salt to remove them. Avoid soaking the spoon in water or putting it in the dishwasher, as this can cause the wood to warp or crack.
Periodic Re-oiling
Periodically re-oiling your wooden spoon can help keep it from drying out and cracking. Once a month is sufficient to maintain the spoon’s condition. Rub the spoon lightly with mineral, walnut, tung, or linseed oil, making sure the oil is fully absorbed before you use the spoon again. You can also use food-grade mineral oil to avoid any potential health risks.
To re-oil the spoon, follow these steps:
- Apply a small amount of oil to a clean cloth or paper towel.
- Rub the oil onto the spoon, making sure to cover all surfaces.
- Allow the oil to soak in for a few minutes.
- Wipe off any excess oil with a clean cloth or paper towel.
By following these simple steps, you can help extend the life of your wooden spoon and keep it looking like new for years to come.
Frequently Asked Questions
What is the best type of wood to use when making a wooden spoon?
The best type of wood to use when making a wooden spoon is a hardwood like maple, oak, or walnut. These woods are strong and durable, making them ideal for kitchen utensils that will be used frequently. Softwoods like cedar and pine are not recommended as they are not as strong and may not hold up as well over time.
What are the essential tools needed to carve a wooden spoon?
The essential tools needed to carve a wooden spoon include a carving knife, a hook knife, a chisel, and a gouge. You will also need sandpaper, a saw, and a clamp to hold the wood in place while you work. While these tools are essential, you can also use other tools like a rasp or a spokeshave to help shape your spoon.
Can you make a wooden spoon without a lathe?
Yes, you can make a wooden spoon without a lathe. While a lathe can be a useful tool for turning a wooden spoon, it is not essential. You can carve a spoon using hand tools like a carving knife, a chisel, and a gouge. With a bit of patience and practice, you can create a beautiful and functional wooden spoon without the use of a lathe.
What are some beginner tips for carving wooden spoons?
Some beginner tips for carving wooden spoons include starting with a simple design, using sharp tools, and taking your time. It is also important to pay attention to the grain of the wood and to carve with the grain whenever possible. Don’t be afraid to make mistakes, as they can often be corrected with a bit of sanding or carving.
What type of finish should I use on my wooden spoon?
The type of finish you use on your wooden spoon will depend on personal preference. Some people prefer to use a food-safe oil like mineral oil or walnut oil, while others prefer a natural wax like beeswax or carnauba wax. Whatever finish you choose, make sure it is safe for use with food and will not leave a toxic residue on your spoon.


